
Soil Testing

Cultivating healthy soil can take a while. It’s a long game and it’s important to monitor your soil’s progress. Adding natural fertilizers to your soil should be with the goal of building up nutrients to their proper levels and balances for your specific area and needs. This includes factors such as soil type, rainfall, climate, sun exposure, and altitude. You should then aim to KEEP those nutrients in your growing area by composting and recycling wastes.
Since there is no magic silver bullet that works in all gardens everywhere, it’s important to assess exactly what your soil needs before you add anything. Soil testing is key! Soil testing is a paid service but it’s worth it. You’ll be able to avoid the pricey mistakes we can make in adding a ton of the wrong materials. It’s a prudent decision to get a soil test and you’ll save money down the road.
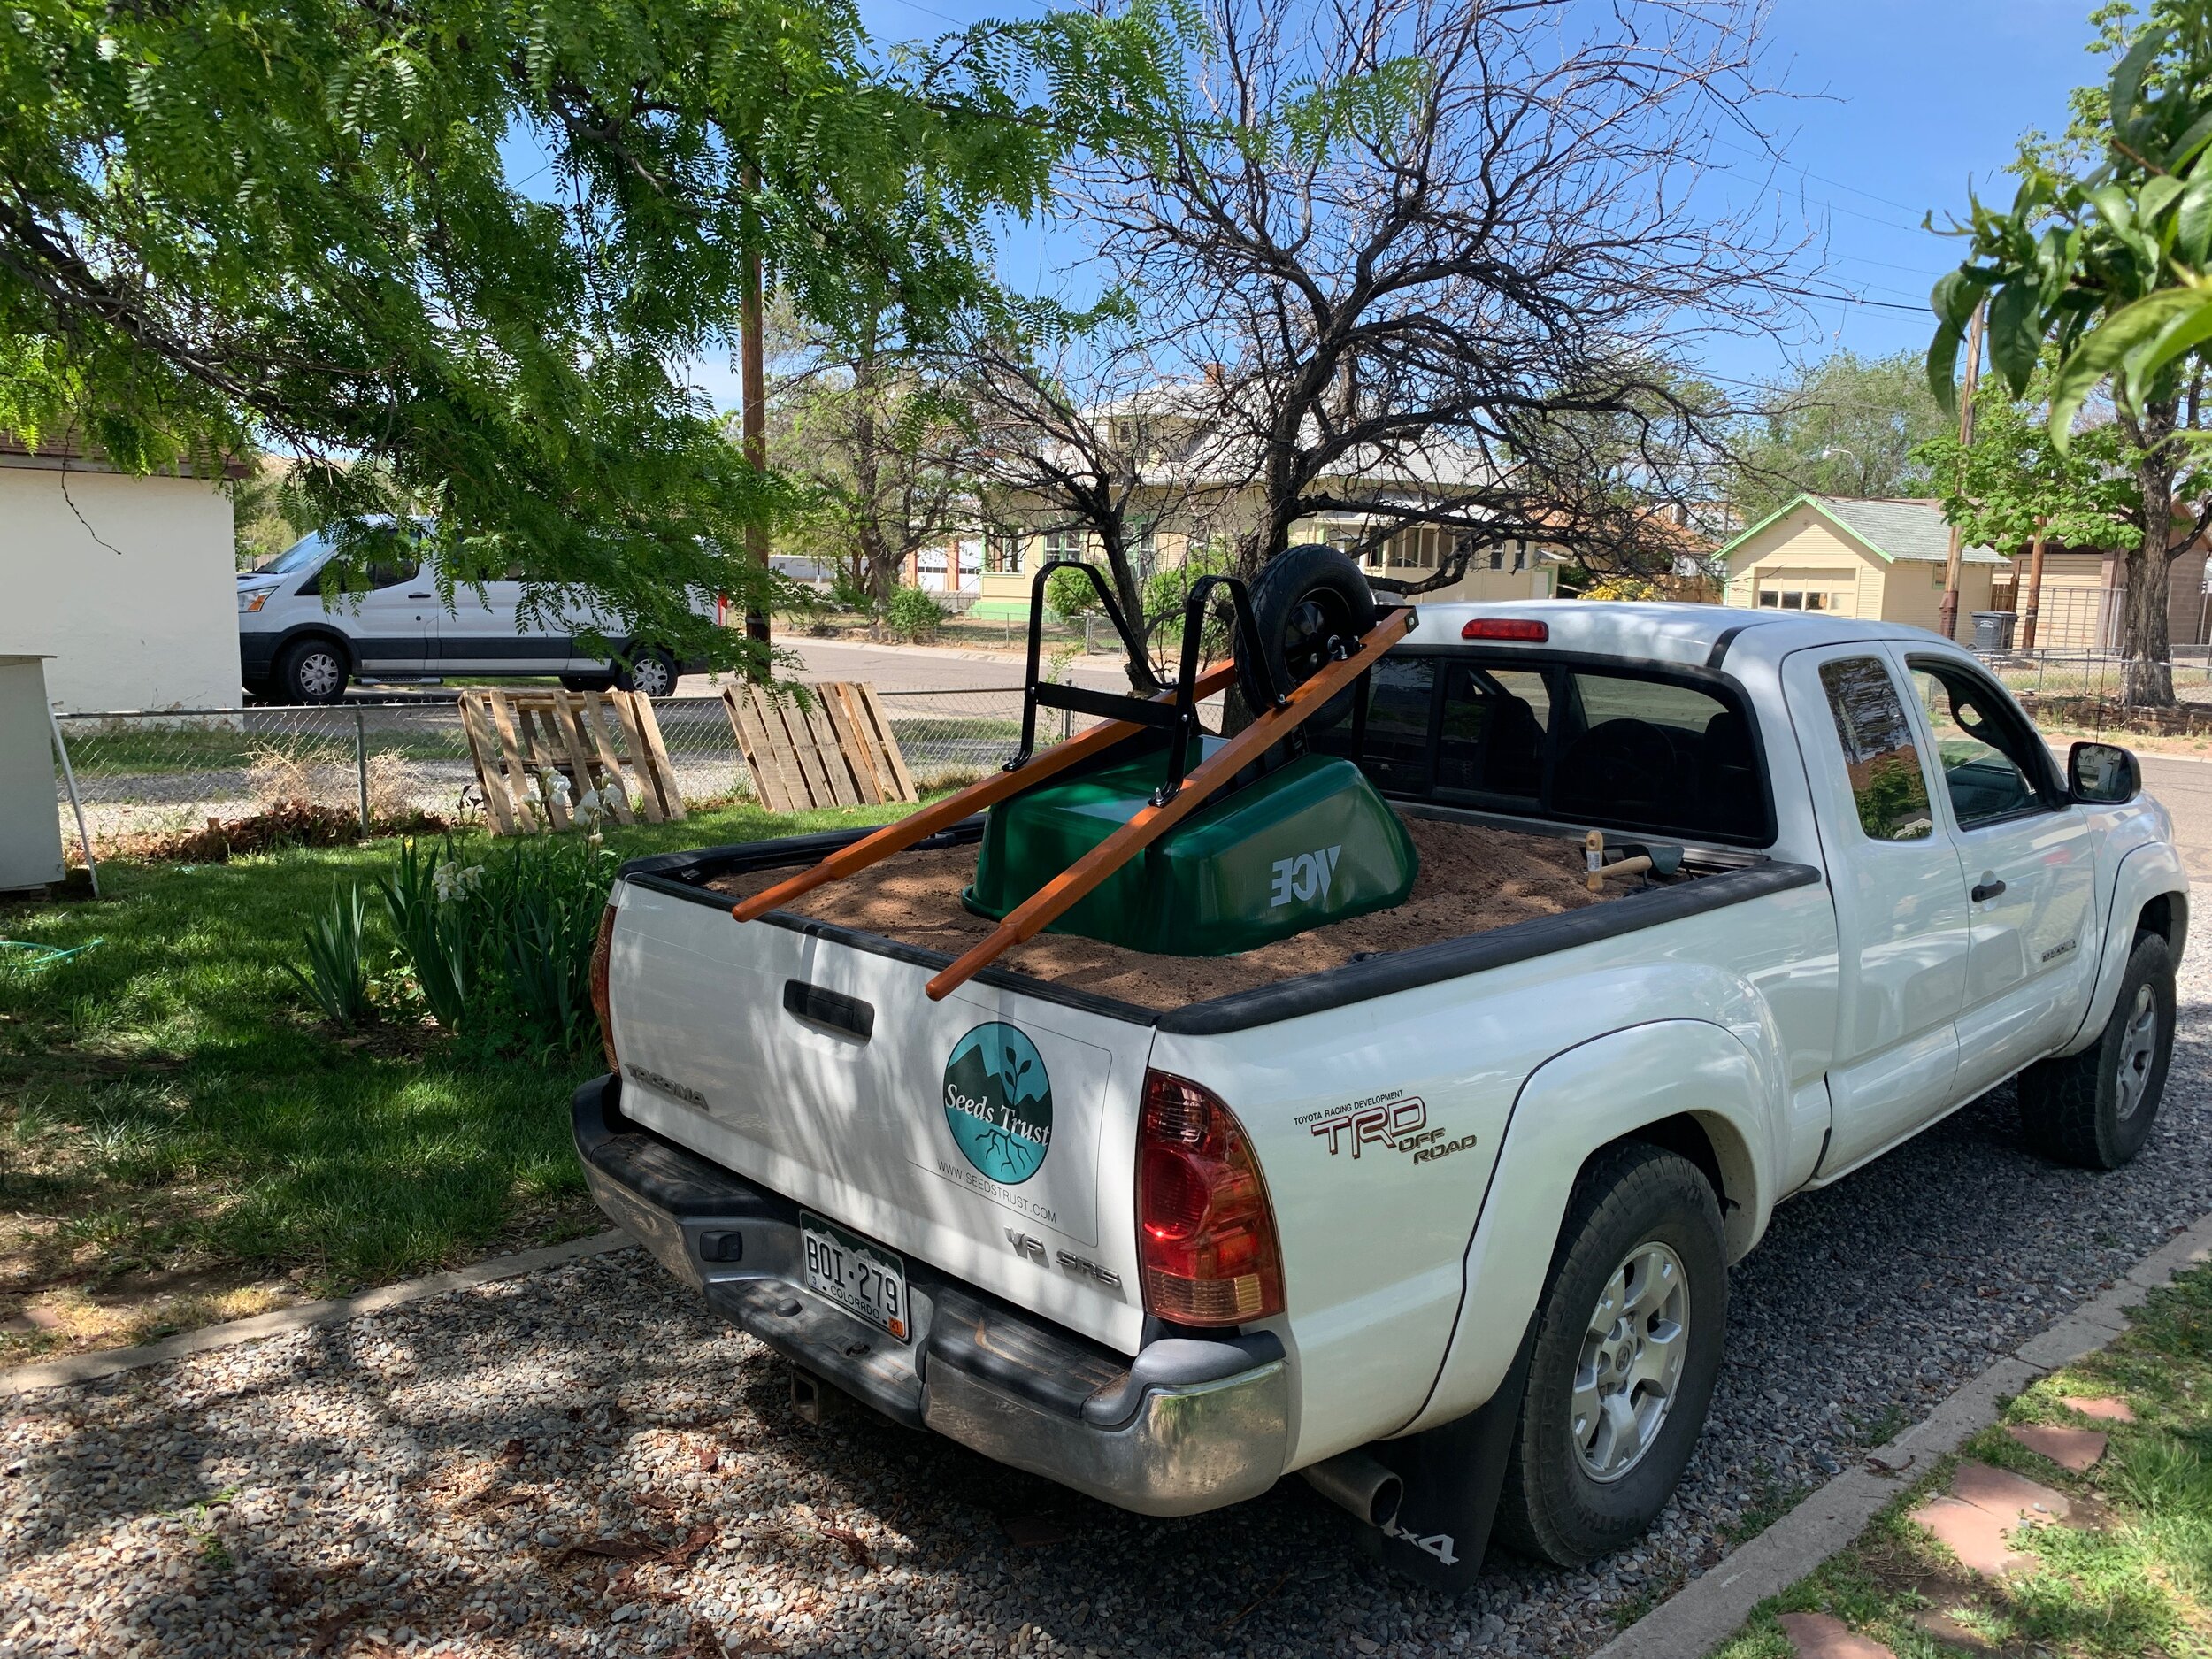
If you’re bringing in a truck-load of soil amendments, make sure you test your soil first!
You can use home kits if you can’t submit for a professional soil test, but you won’t get as in-depth of an analysis. Your local county extension office is an excellent resource for soil testing and for growing knowledge in general. Be sure to get familiar with your extension agent and lean in to their resources.
Test your soil every year at the beginning of the plating season. You don’t want to send in samples that have any amendments included.
When creating your sample, you’ll want to gather soil from various parts of your garden. Sample from at least ten spots as evenly spaced as possible. You can use a shovel to gather your samples, but be sure that your tool is clean and free of rust. Galvanized or brass tools cannot be used since they will contaminate the sample. For the most accurate results, air dry your soil for about 12 hours. Be sure to follow all instructions provided by the soil testing lab you select.